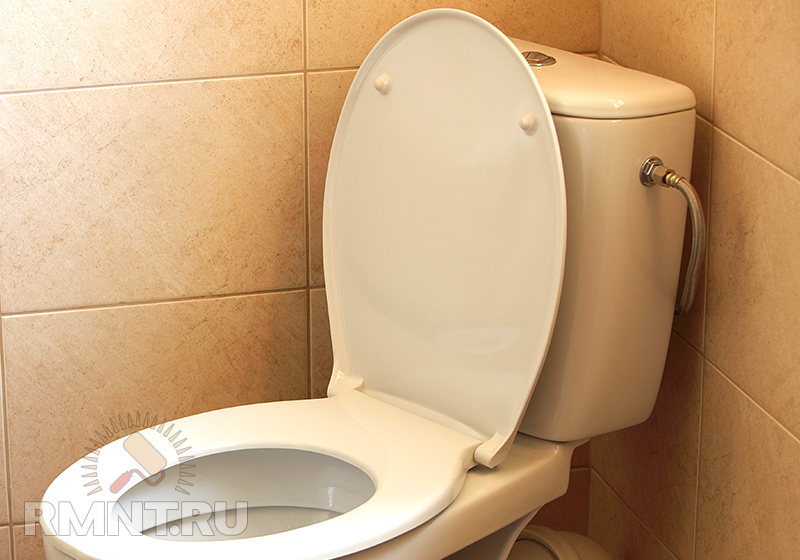
Constantly murmuring water in the tank and, as a result, the money that is paid for water supply flowing down the drain is a typical picture of a broken toilet. To solve this problem, you need to change the fittings for the flush tank. How to do this and how to choose the right one will be described in this article.
Everyone knows the sound of running water in the toilet. This sound indicates that it is time to repair the toilet. At first glance, the problem is very serious and insoluble without the appropriate knowledge and skills. However, this is only at first glance. In fact, toilet repair is most often the repair or replacement of broken cistern fittings. This procedure is simple and will not take you much time.
How is a flush tank arranged? In fact, it has two devices independent of each other - a filling valve (through which water enters the tank) and a drain column (it ensures the flow of water from the tank into the toilet bowl and, accordingly, flushing). The combination of these two devices forms the fittings for the toilet flush tank. Various manufacturers offer their models with some unique designs, different shapes and colors. Despite such a variety, it is important to understand that almost all of them are universal (the probability that a universal fitting purchased in a store will suit you is about 95%). That is, knowing the type of yours, you can easily buy the fittings you need in any plumbing store. Within the framework of this article, fittings for built-in tanks are absolutely not considered. The fact is that they just do not fall into the above 95% of universal options.
And so, it remains only to find out what types of fittings are and how you can independently determine which one is needed in your case.
Types of cistern fittings
Since the reinforcement, as mentioned above, consists of two independent devices, the classification can be carried out according to:
- fill valve type:
- with lateral supply - the valve is mounted on the side wall of the tank. Accordingly, the inlet liner (flexible hose from the water pipe to the tank) fits on the side;
- with a bottom supply - the valve is mounted on the bottom wall of the tank. The liner in this case is connected from below.
- Drain column type:
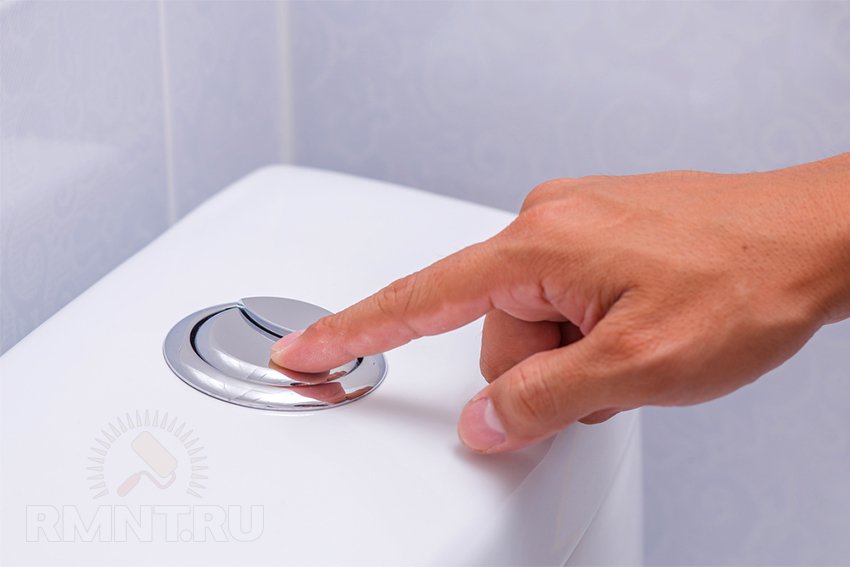
- with a button - to flush, you must press the button on the tank lid;
- with a stem - for flushing, the stem with a decorative element at the end is pulled up.
It should be noted that push-button columns, in turn, are also divided into two subspecies:
- With a single flush - one button. When pressed, all the water contained in the tank is drained.
- With a double flush - for such a column, the button is divided into two parts. Pressing one flushes using only half of the water contained in the tank, the other causes a full flush.
Fittings for a double flush cistern are considered more economical - you can choose the desired mode yourself. Columns with single and double flush are interchangeable, that is, nothing prevents you from buying and installing the one that suits you best, but it should be noted that the tanks have different displacements. With a small volume, a half flush may not be enough.
Under the push-button fittings in the tank lid, a hole of a larger diameter was made than under the stock. Therefore, in most cases, replacing a column of one type with a column of another will not work.
So, taking into account all the above, we get six types of fittings: with a stem with a side supply, with a rod with a bottom supply, with a single button with a side supply, with a single button with a bottom supply, with a double button with a side supply and a double button with a bottom supply .
Separately, it is worth dwelling on the fittings of the old model. Now there are still a lot of cisterns installed on the toilet with such fittings, or cisterns mounted on the wall and connected to the toilet with a pipe, in which old-style fittings are also mounted. It consists of a column with a stem (vertical or lateral) and a side filling valve. Due to the design features and softer requirements for efficiency, the drain column from such fittings cannot be replaced with a modern one. It remains either to repair and adjust the fittings for the tank so that it does not let water through, and this is very difficult to achieve, or simply buy a toilet bowl with a modern tank, which is more preferable, especially if you have a water meter installed.
Summing up, we illustrate all types of fittings:
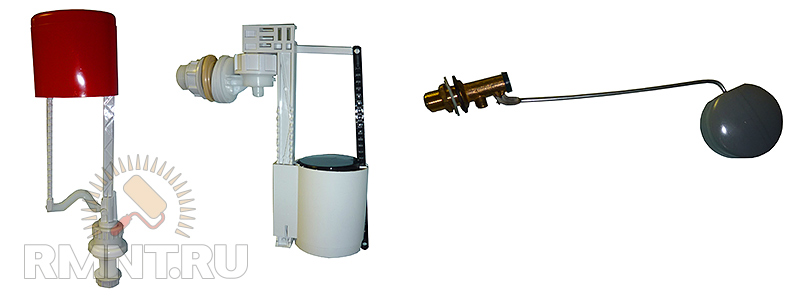 Fill valves. From left to right: bottom inlet, side inlet, old style
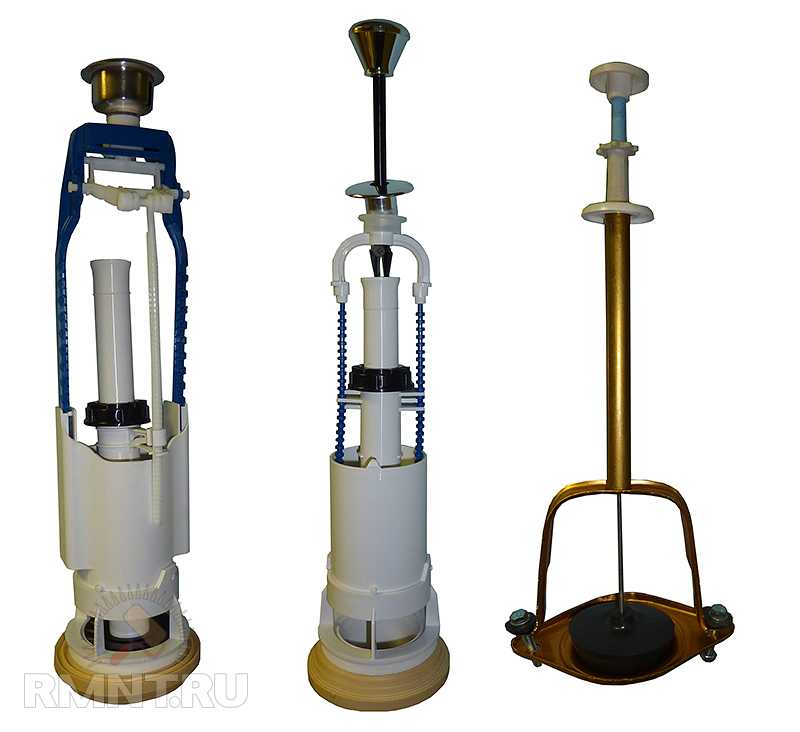 Drain columns. From left to right: push-button, with stem, old-style
How to choose fittings for a tank
Now let's move from theory to practice. When it comes to buying a new cistern fitting, it's natural to want to save some money. It often leads to some characteristic errors:
- Despite the fact that fittings are universal, their designs from different manufacturers can vary greatly. Therefore, it is wrong to try to look for only one broken spare part. Most likely, you will not succeed, and you will only waste your time. Conclusion - buy only the whole. In extreme cases, bring the entire fitting element (column or valve) with you to the store. There is a small chance that such a spare part can be found, for example, from defective fittings.
- It is wrong to look for fittings for your particular tank, that is, exactly the same as it was. It is here that it is important to remember that they are universal, which means that knowing your type, with a high probability, any universal of the desired type will suit you.
Here the question arises, how to determine the type of your fittings?
To determine the type of inlet valve, just look at your tank, namely, where the flexible water supply hose is connected to it. If on the side, then you have a valve with a side supply. If there is no hose on the side, then the valve is with a lower supply. Look under the tank and see for yourself.
To determine the type of waste column, pay attention to what action is performed when flushing. If you press the button, then the push-button, if you pull the stem, then the column with the stem.
Determine the type of your fittings and choose the appropriate name for you (one of the above) - it is you who will need to tell the seller when buying.
Most likely, in the store you will be offered a choice of several options from different manufacturers and, accordingly, with different prices. What to choose?
The price range is quite wide - from 150 rubles. up to several thousand. To choose a quality one and at the same time not overpay, you should pay attention to a few nuances:
- All connections of parts with each other must be strong. Detachable, as a rule, snap-on, should fit tightly into each other with a characteristic click. One-piece should not have backlash.
- Sealing gaskets must be of good quality. Feel them. Soft, plastic and at the same time elastic, speak of the quality of both the gaskets themselves and, accordingly, the fittings in general.
- Complete set - fittings of acceptable quality come with all the parts necessary for installation, including bolts that fasten the tank to the toilet. In some cases, the fittings are completed with spare parts (as a rule, gaskets). Pay attention to the quality of small things. Unscrupulous manufacturers do not pay due attention to it. As a result, the quality of components is low. This should alert you.

Generally speaking, you need to know that the price of acceptable quality rod valves starts from 10 USD. e., for push-buttons - from 15 c.u. e. At a price of 30 at. That is, you can buy very good fittings with an increased resource (as a rule, this is reflected in the extended warranty period).
So, the armature is bought, it remains to mount it.
Rebar replacement
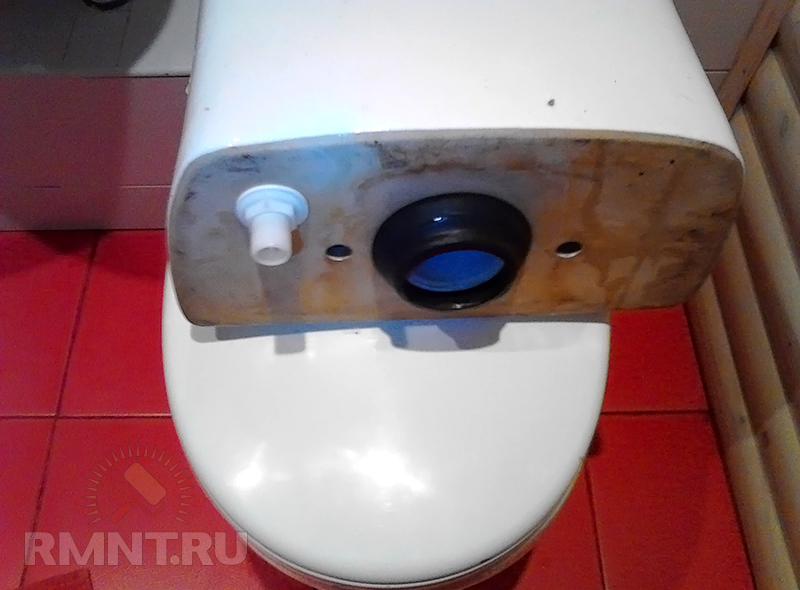
Replacement of fittings begins with the dismantling of the old one. In some cases, there is no need to completely change the fittings. It is enough, for example, to change only the drain column or the filling valve. If you change the column, you will have to completely remove the tank. Replacing the filling valve will not require this. In any case, you must first dismantle the old elements. Let's consider this process in full step by step using a specific example. As an experimental sample, let's take this toilet:
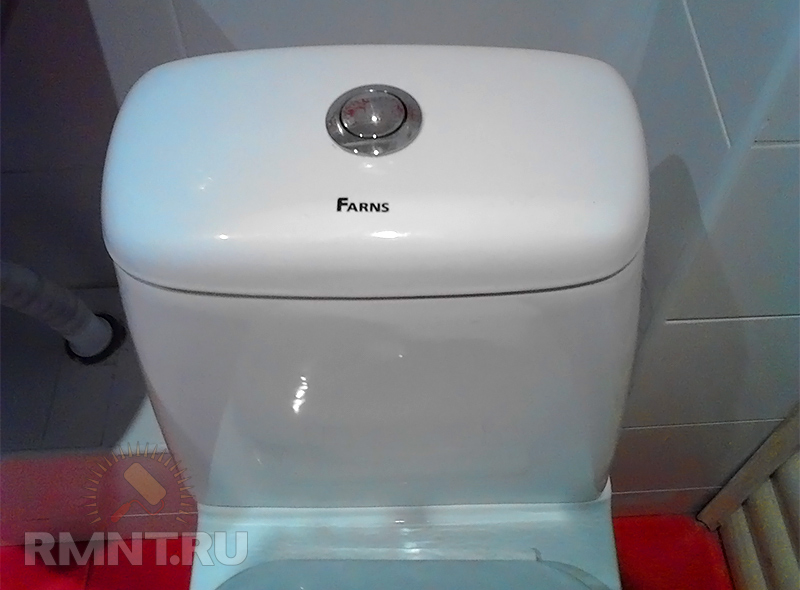
It can be seen that it has a one-button armature with a lower supply. The procedure for replacing any other, including a rod one, for example, with a lateral supply, will not differ much from that described. Differences in operations will be indicated.
All work begins with shutting off the water at the inlet to the tank or the entire water supply line. After that, it is necessary to flush the water in the tank into the toilet.
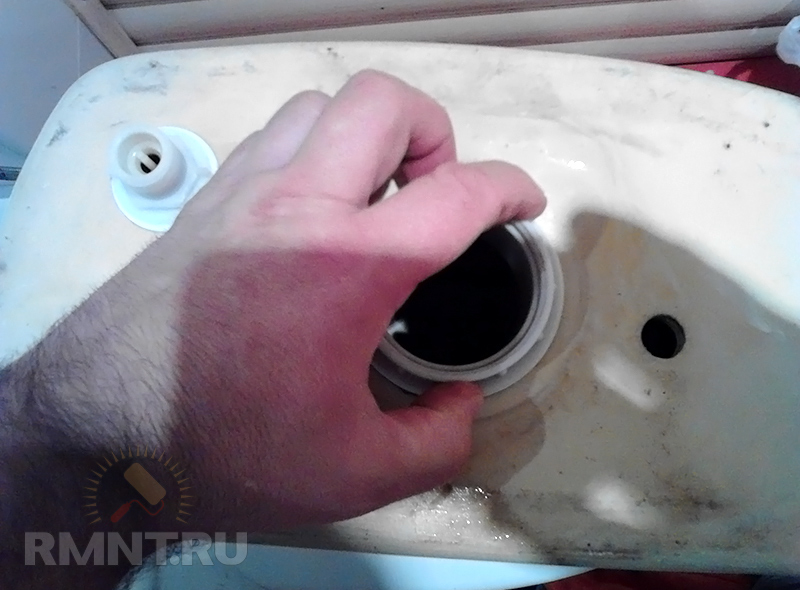
1. Dismantle the button. In our case, it turns counterclockwise. It happens that the button is attached to the lid of the tank. The cover will then be removed without dismantling it. Then just go to the second step. For rod fittings - unscrew the decorative knob on the rod and unscrew the trim that closes the hole in the tank through which the rod passes (of course, if it was screwed).
![]()
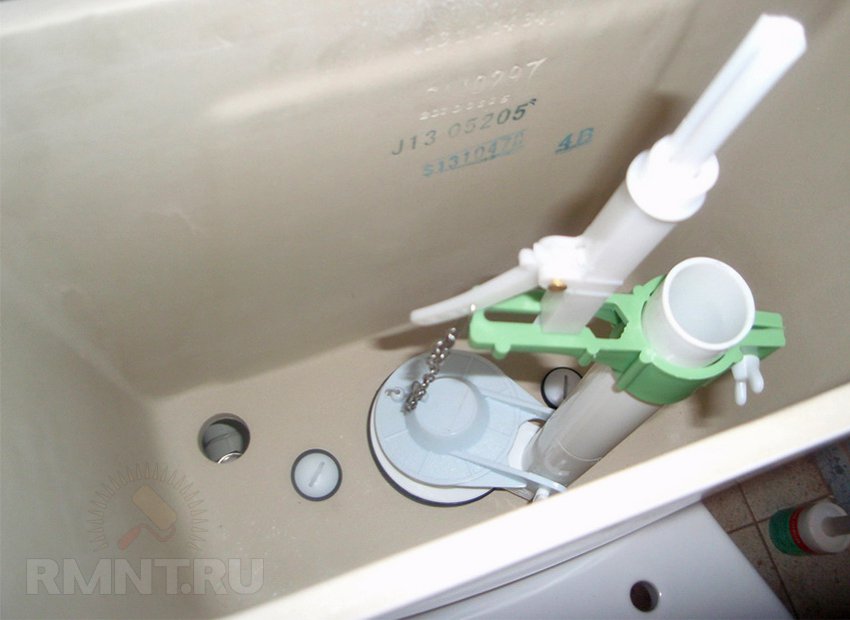
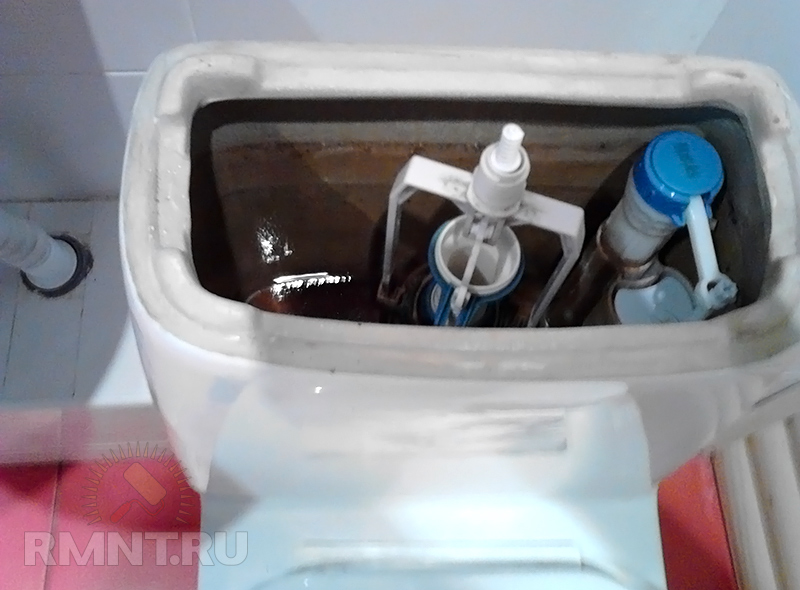
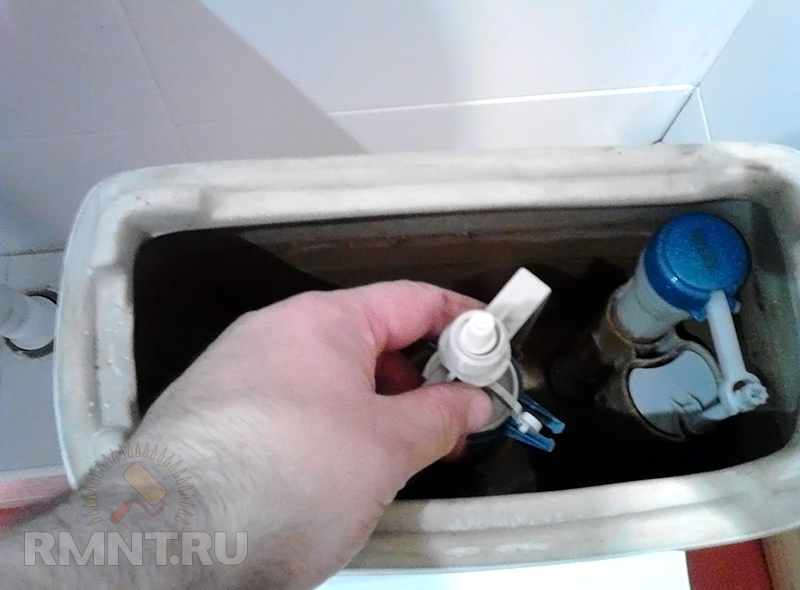
2. Remove the cover and see this picture. In the center is a drain column. Side filler valve. If the length of the supply hose is sufficient to remove the tank and put it on top of the toilet, then proceed to the next step. Otherwise, turn off the eyeliner.
3. The drain column is collapsible - it consists of two parts. To make it easier to carry out work, we dismantle the upper part. To do this, rotate it by 90 ° (it will detach from the bottom with a snap off):
and take out:
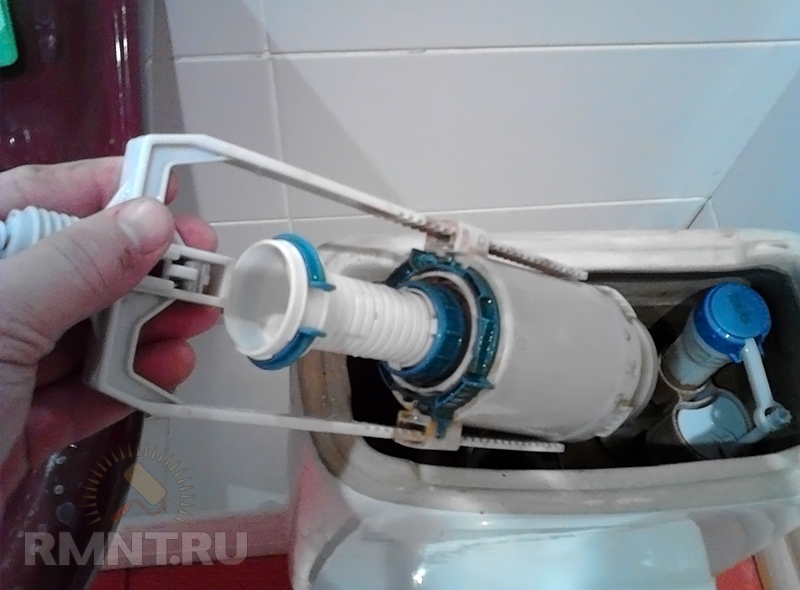
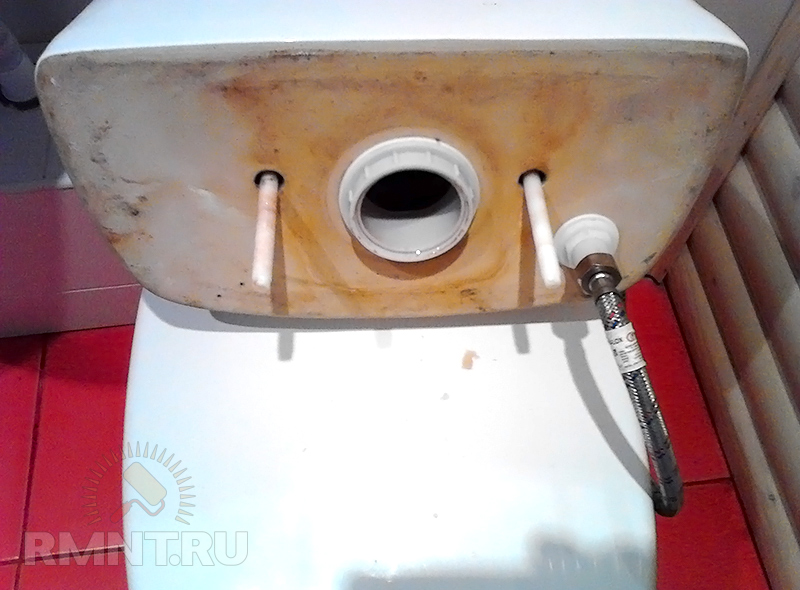
The lower part of the column will remain inside. On the sides of it are visible bolt heads that secure the tank to the toilet.
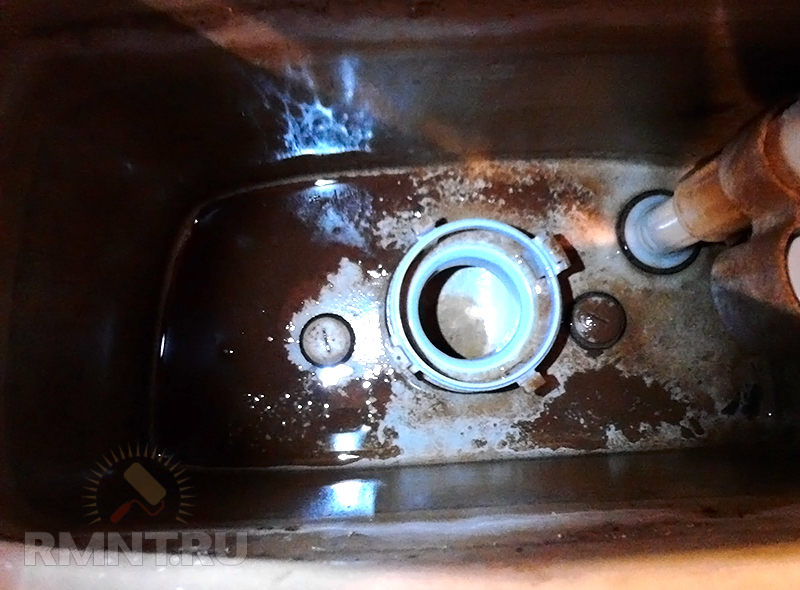
4. Unscrew the fixing nuts under the tank. As a rule, this can be done simply by hand.
After draining, a small amount of water will remain. When you unscrew the nuts, this water will flow out. So put on a rag.
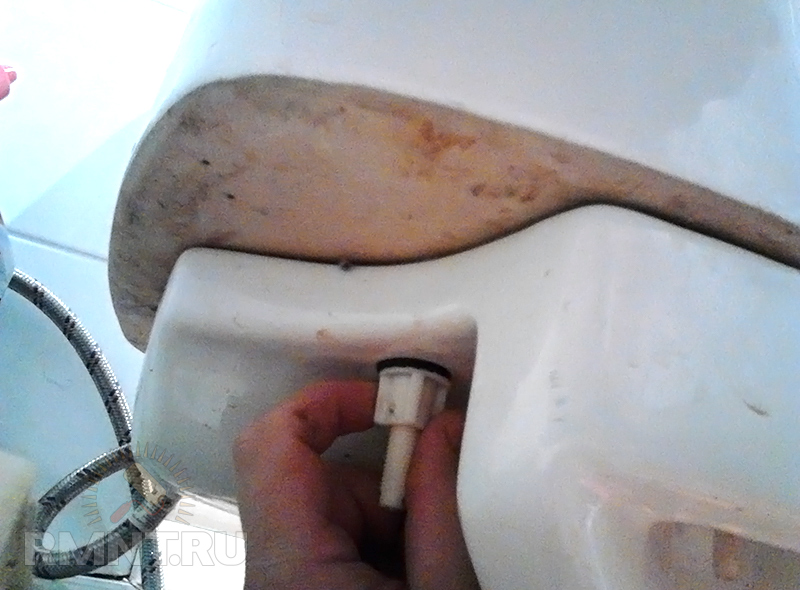
5. Nothing prevents now to lift the tank up and put it on the toilet for the convenience of subsequent work.
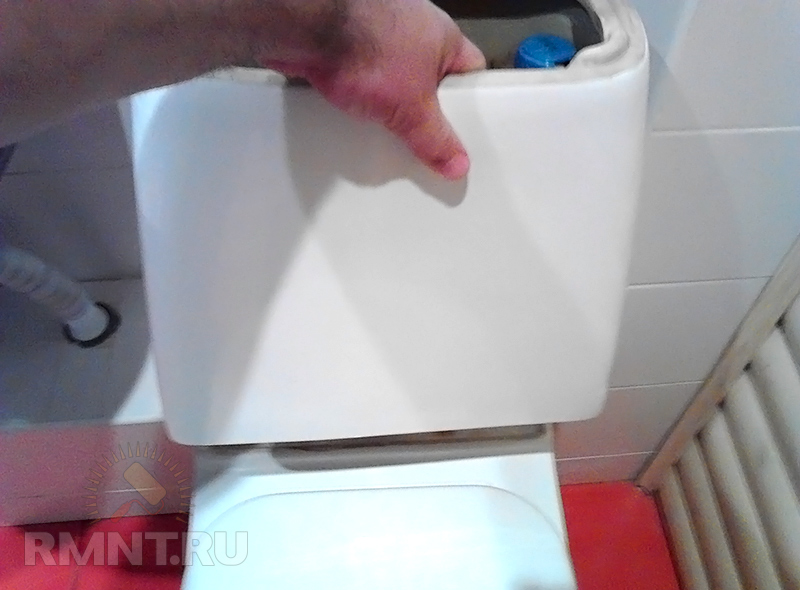
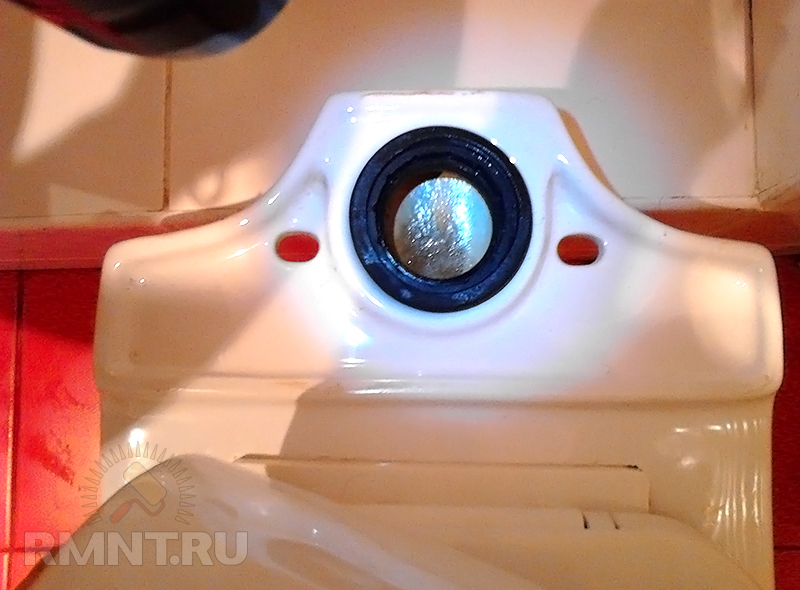
The sealing gasket remained at the landing site:
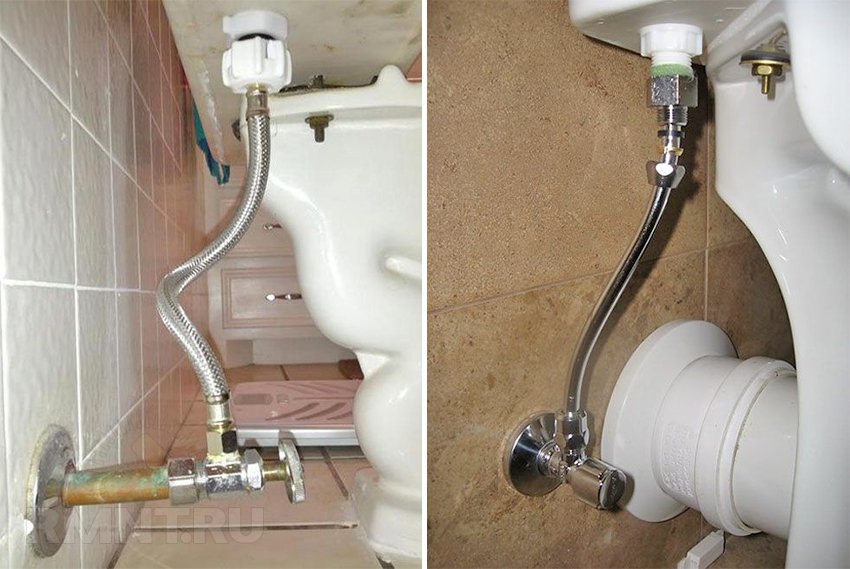
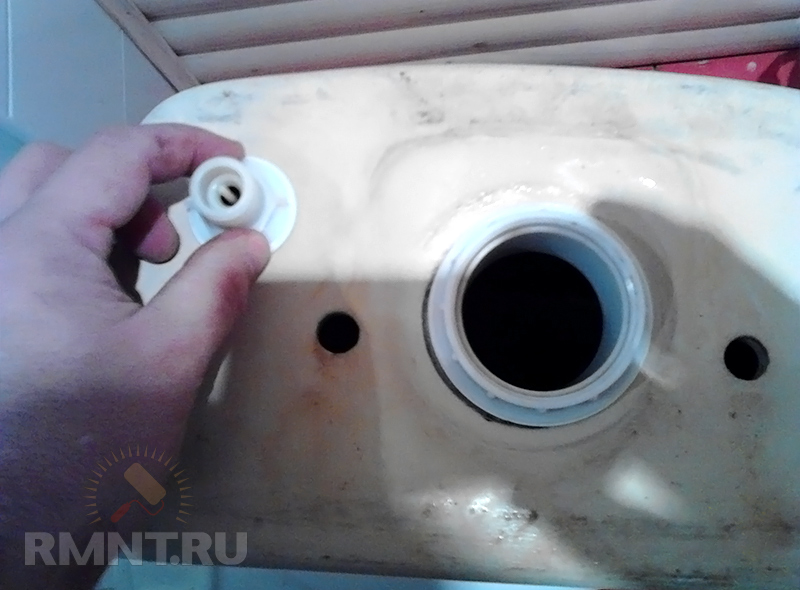
6. The dismantling of the tank in our case could be done without first disconnecting the liner. If it is necessary to change the filling valve, then we perform this operation now.
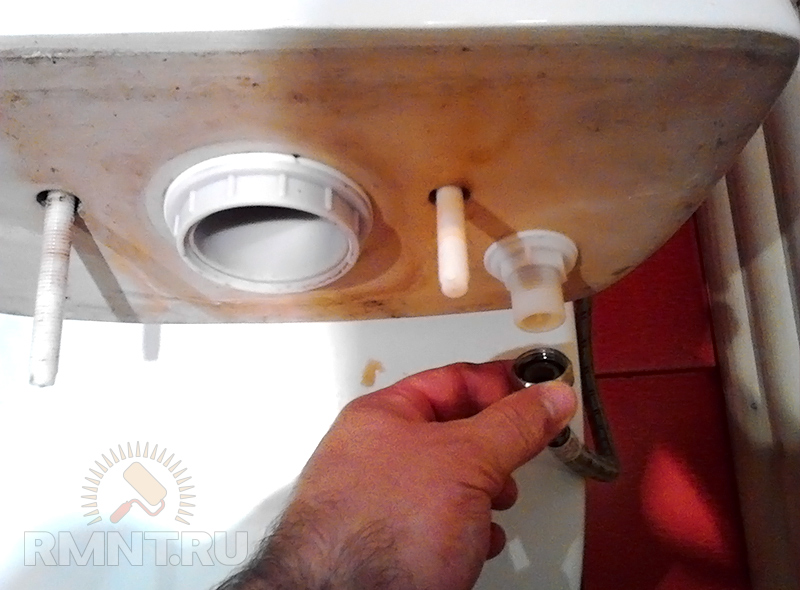
Flexible hoses are wrapped and turned away by hand. The key is used only when absolutely necessary.
7. Unscrew the column fastening nut:
and valve nut:
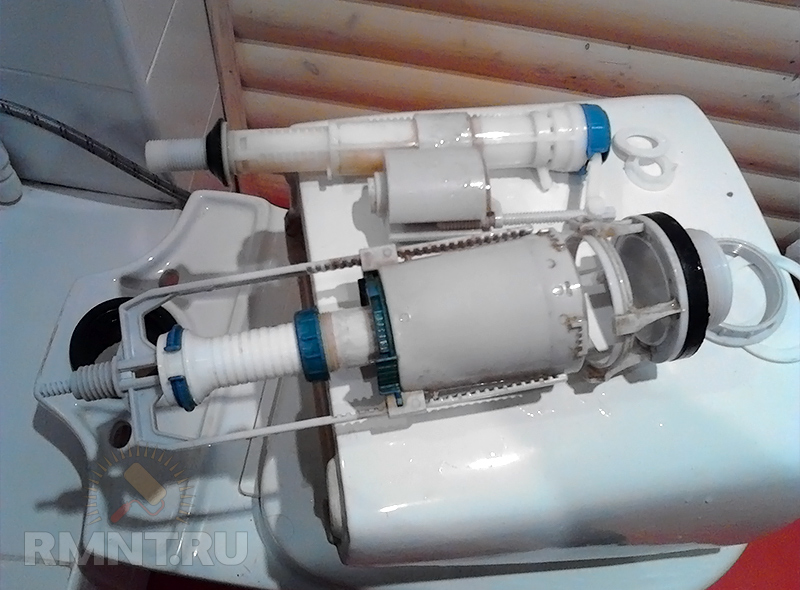
8. We take everything out of the tank. Here, in fact, this is the dismantled fittings:
Now you can start installing the new fittings. All operations are performed in the reverse order, the only caveat - for convenience, it makes sense to put the gasket between the tank and the toilet on the mounting nut before installation.
The whole operation takes five to ten minutes. Threaded connections, as mentioned, are wrapped by hand and only if necessary are tightened with a wrench.
You can endlessly try to fix old leaking fittings, surprised every month by huge bills for consumed water, or you can spend 10 minutes and solve the problem for a long time by simply replacing the fittings completely. How to do it, you now know.


